tag

Inspiration for the working mom

Showing posts with label Cooking project. Show all posts

Friday, March 23, 2012

How to include the kids in Thanksgiving festivities

I hosted my second Thanksgiving in 2011.  We had a great family experience, with representatives from 3 states.  My kids were 4½ and 2½  at the time, and eager to pitch in and make the holiday a memorable event for the family. 

We started by taking a nature walk and collecting fall leaves in the neighborhood.  We took these home and pasted them with colorful feathers and paper from our craft box to make place mats.  After running through a laminating machine, we now have place mats that we used at Thanksgiving  and will continue to use for special occasions.

My husband and I did most of our prep throughout the week (crust-less sweet potato pie, chicken apple sausage stuffing,  and haricot verts with almonds made the night before) and saved the mashed potatoes, apple bread and crescent rolls and salad for the day of with the kids.  Mom handled the turkey which was delicious with a white wine basting base – no kids near the oven.

Already experienced chefs, the boys donned their aprons (gifts from Aunt Kim with football and baseball ornamentation and their names in the most perfect fabric ink ever) and pulled their chairs up the counter and we got to work!

Some good activities for kids in the kitchen:
·         Using/assisting with the potato ricer:  the boys really liked using the potato ricer (also one of my favorite kitchen gadgets) on the boiled potatoes and watching the “potato rain” come out the bottom. 
·         Measuring ingredients: when using a measuring cup, the boys tell me when I’ve poured ingredients to the height of the desired line, and they can use measuring spoons and cups with minimal assistance
·         Pouring the measured items into the mixing bowl (sometimes we’ll use two so each boy can stir independently)
·         Mixing with a spoon, fork or spatula
·         Making bread in a bread maker:  this one’s super easy – we just dump the ingredients and  push the button

When the kids eventually lost interest, I brought out the arts and crafts kit (see post on the Alex Big Box of Crafts).  We made paper chains in autumnal colors to decorate our windows and arch ways inside, and also traced our hands to make handprint-turkeys to decorate and post on the front door to give our guests a big welcome.


Sunday, October 30, 2011

Carving Jack-O-Lanterns

Prep time: Minimal
Activity time:  30 minutes

I carved my first Jack-O-Lantern in nearly 30 years this month.  After our trip to the pumpkin patch (see previous blog post “Our Long Island pumpkin patch adventure”) we bought a couple of carving tools in the farm’s store for under $3 each.  The boys decided they wanted to make a silly face (Zach) and a scary face (Elijah).  

I drew the designs on a piece of paper first, asking the boys for a lot of direction (What shape should the eyes be?  Do we want to add a nose?  How can we make the eyebrows scary!?)  Meanwhile, my husband was working on scooping out all the pumpkin guts to save for making toasted pumpkin seeds and pumpkin soup.

When we had a good idea of how we wanted our jack-o-lanterns to look, I handled the cutting. We had safety “knives” but the kids weren’t able to push hard enough to cut through the thick pumpkins.  Instead, once I had a feature fully cut, they helped me to push the item out of the pumpkin.  We had a lot more success pushing from the inside-out.  Another tip: I learned the hard way NOT to use a sharpie to draw the outline of the various face elements.  Translating the flat drawing to the spherical pumpkin surface proved a little tricky.  I ended up with the mouth way lower than I intended.  This may have been my severe lack of practice in pumpkin carving, but as a relatively well coordinated woman, well-versed in drawing simple faces, I was surprised at the utter mess I made with Take 1 with the sharpie.  However, we just turned the pumpkin around and tried again on the “new” front side. 

For Take 2, I carved the pumpkin’s features free hand.  This time, starting with the mouth to make sure I had it properly in position.  Next I did the eyes and eyebrows and worked my way toward the center of the face.  We scraped off the bits of shredded pumpkin falling into the path of our cut-outs inside the pumpkin, lit a candle inside the hollowed out pumpkin, and were amazed with our results!

Boo!


As for my husband’s side cooking project – the pumpkin soup turned out amazingly well!  Mike separated out the seeds for toasting with a little salt and put the pumpkin guts into a large pot.  He added milk, Splenda, salt, pepper, cinnamon and assorted spices and cooked until the pumpkin had softened.  We used an emulsion blender to make it all smooth texture (though you could scoop the liquid into a regular blender) and saved what we didn’t eat that day in plastic containers to freeze for Thanksgiving.


Sunday, October 2, 2011

Kids Birthday party at California Pizza Kitchen

We had the best time at my nephew Ari’s 4th birthday party at the California Pizza Kitchen.  His Mom also thought the price was right, and it was just the right amount of time.  The best part – the kids made a mess and then we all left!

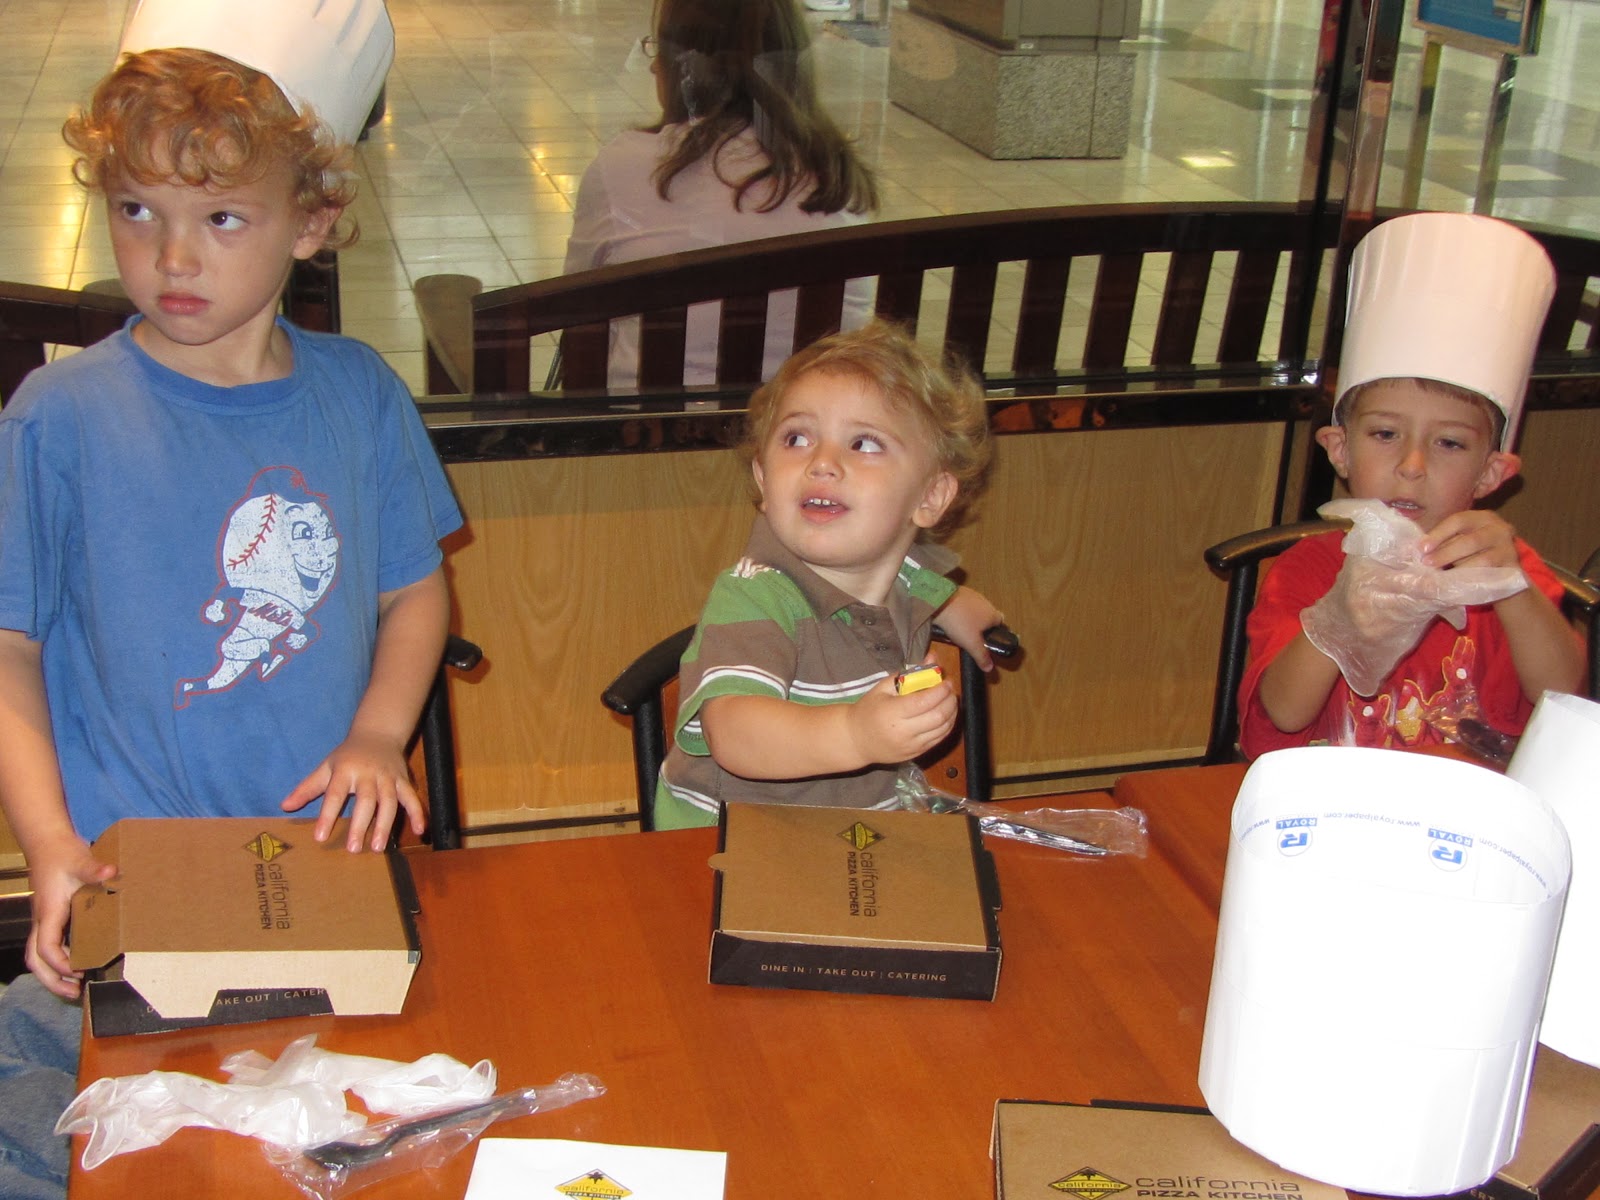
The total party run time was about 90 minutes. We arrived at California Pizza Kitchen (CPK) before its standard business hours and were greeted by a very friendly and accommodating staff and a long table filled with paper chef hats (with a disposable plastic glove and spreading spoon inside).  The kids all picked their seats and each received a little to-go pizza box with crayons and the kids menu with coloring pages.  


The kids decorated their hats while the parents helped, and also mingled, nibbling on the apps our hostess ordered.  Once the chef hats were decorated and ready, the kids received already-rolled-out pizza dough and 2 little containers of sauce and cheese.  

The cheese was available to drizzle over the pizza, or eat directly
 The kids made their own pizzas and one of our waiters added their names so each kid would receive his or her own pizza once it was ready.  While the pizzas cooked, the kids and parents got a tour of the restaurant.  The kids loved the pizza ovens, soda machine, bread slicer, freezer, kitchen and prep areas.  By the time our tour ended and everyone had one last round of drinks, the pizzas were ready!

The guests all loved eating their own culinary creations.  Out came delicious ice cream sundaes with whipped cream, M&Ms, and a cherry - and then to make sure our kids were as sugared up as possible, we sang happy birthday, had cake.  Any leftover pizza was wrapped up and ta da!, the party was over.  The mess was left at CPK.  We  had a bunch of happy and well fed kids. Oh, and we all left with a coupon for a free kids' meal.

The birthday boy and my friend were really happy with the event, and the price was right, at about $10 per kid (including the free lunch).  I would definitely consider a birthday party at CPK for my kids in the future.

Sunday, July 3, 2011

The evolution of the weekly “Crepe Breakfast”

Prep time: Minimal
Activity time: 10 mins

I’m starting to hit my groove with the weekly family breakfast.   My secret weapon: pancake mix (I’ve been very happy with the Target/Market Pantry brand of pancake and waffle mixes).  Now we measure out 1 cup of mix and 2/3 cup water (which gives both Zach and Elijah to add something to the mixing bowl), stir for 15 seconds, and have pancakes 5-10 minutes later. While this may be far less romantic than the crepes-from-scratch breakfast of yore, we’re all eating within minutes, and I’ve been able to broaden my pancake repertoire from circles, to circle-based-cartoon-characters.


Another fun twist that we’ve added in recent weeks: chocolate syrup painting

 
and tasting!


Bon appetite! 

Saturday, June 11, 2011

Weekly Crepe or Pancake Breakfast cooking project

Prep time: Minimal
Activity time: 30 mins

I wanted to institute a tradition... And decided on a weekly Sunday pancake breakfast.  Only we did crepes because I like them better and it's fun to roll stuff up in them.  My 3 year old was always up early with me (I say that as if he weren't the reason I was up early to begin with ;) and would help me cook.

Crepes are easy – there are very few ingredients and you don't need a mixer.  We'd practice counting as we measured out flour, vanilla, baking soda, sugar and salt. It is also a good opportunity to see the different amounts (1/4 teaspoons, tablespoons, cups) we needed for different ingredients.  Crepes have the added fun of using the sifter – which is epic for a 3 year old.

We'd make the crepes (pronounced crueps - to help Zach differentiate them from another favorite food ... Grapes) and then use a butter knife to cut up berries and bananas to go inside.  Drizzle with yogurt and powdered sugar, and you have an instant gourmet breakfast.

The “weekly” aspect of my tradition lasted about a month, but we still make crepes every now and again

A fun related craft project is to decorate aprons for the kids.  You can order these online (oriental trading has a nice selection and good prices) and then decorate with anything permanent, from sharpies to puffy paints, to sew on letters and graphics.  The true domestic goddesses may even embroider.

Apron craft time: 10 mins +